

Working from home in a Los Angeles apartment, you get a little more proactive about the things that you aren’t happy with. Six years ago, I moved into this apartment on my own and quickly visited my cousin in San Fransisco for a getaway. She had a dining room table and chairs in nice condition sitting in her garage and asked if I wanted it. When someone offers you a free dining room set from Europe, you say yes. The chairs are beautiful and the table extends – it was really a no brainer.
Over the years of using this dining room set, it was showing its age. The seat cushions were not cushioning my butt anymore, and the table had a set in stain from a plant that went rouge (I blame it on the plant, but it was really my fault oops hehe). Jordan hated the way the chairs hurt his butt after 10 minutes, and I hated the brown and the stain on top of the table.
If you know my aesthetic, you know that dark brown doesn’t have a place in my color palette. When choosing to DIY something, you have to have the future in mind, especially when it comes to a family piece that you won’t be getting rid of anytime soon. We want a moody dining room with black or dark grey walls so an all black dining room set has been solidified as something we will have in our future home. 😍
After complaining about the table and chairs for about a year, we FINALLY used the excuse of DIYing this as a Christmas gift to me! So over Thanksgiving break we carved out two days to complete this DIY project. Since we have nowhere to sand outside of our apartment (because sanding gets EVERYWHERE and is super loud and constant), Jordan’s boss let us use their shop to do all the dirty work while they were closed for the holiday 💪🏻.
So let’s start the process by showing you the before…
- Plant pot stain – I learned my lesson never to put plants (even in a pot) on wood – or in this case, particle board
- Stunning chair design… not so stunning fabric choice (I reupholstered this 6 years ago. Wait until you see what was under it originally 💀)
- We realized that part of the table was wood, and a lot of it was particle board with wood laminate on top.
- Look how much darker the table used to be – these are the leaves – this is also particle board


The Process…
Once we took apart everything in order to fit it into our cars, we drove it over to the shop, literally set up shop… hehe (proud of myself for this pun) 😉, and started sanding. It took a full 8 hour day to sand everything. My fingers were so sore. Jordan used an electric sander on the table tops, legs, and pieces. I used a piece of sand paper and my hands to sand down the chairs. We had no idea what we were getting into. Let’s just say we started doubting the process HARD about 2 hours in. 😅
- We tried using the electric sander on the chairs, but the edges were too round for it to work well.
- Our set up looked like a paint zone once we brought it inside ready for staining.
- We used Milwax stain. We still had about ¼ of it left over after everything was stained with 3 coats. Oh and don’t let the can fool you, we had to let it dry for 24 hours. We tried laying a coat of polyurethane on to seal it after 3 hours and it picked up the stain. 😩
- We documented the first plop of stain we put on anything. It was equally as exciting as it was nerve wrecking. One of the highlights for sure 😍


After a full day of sanding, we called it a day, and came back early the second morning to start staining. We had only set aside two days for the entire DIY project. At this point in the morning of day two, we have yet to stain anything, let alone 3 layers. Then we would have to polyurethane at least 3 layers as well, leaving time in between PLUS sanding in between. AND THEN we would have to reupholster the chairs with new foam padding and fabric. We were way in over our heads. It was quite comical.
And then we had to ‘pivot’…
Once we realized we could not polyurethane until the next day, Jordan’s boss was nice enough to let us extend our stay at the shop so we could pick everything up and transport it back to our apartment in our cars without getting black stain everywhere. We had to set up shop at the apartment now that Jordan’s work was opening back up after Thanksgiving break. So every evening after work, we would tip toe around the pieces and lay a coat of poly on everything. The pieces needed to be sanded in between each poly layer with fine sandpaper that we unfortunately didn’t have. So we used the rough side of a Scotch-Brite sponge and it did the job!
- The amount of fabric that used to be on these seats were atrocious.
- This is the original foam padding at about ¼ of an inch thick. We ripped that right off and added in our new 2 inch foam!
- Our chair pads were 18×16″ so I cut four 24×26″ fabric pieces so we had enough to hold onto when stapling it to the back of the wood seat when wrapping around the thick foam.
- This is the staple gun I used – I believe it’s from Switzerland but you can get an American standard one from Lowes.


Stapling the new fabric on, my hands were in so much pain at this point. I thought I could do it all, no sweat. But I was literally sweating, my fingers were giving up on me. I kept slipping into madness as each day passed with this project haha. Then, the existential question arose. “Either I am getting old or I am a lot less in-tune with reality than I thought.” 😂
The Final Product…
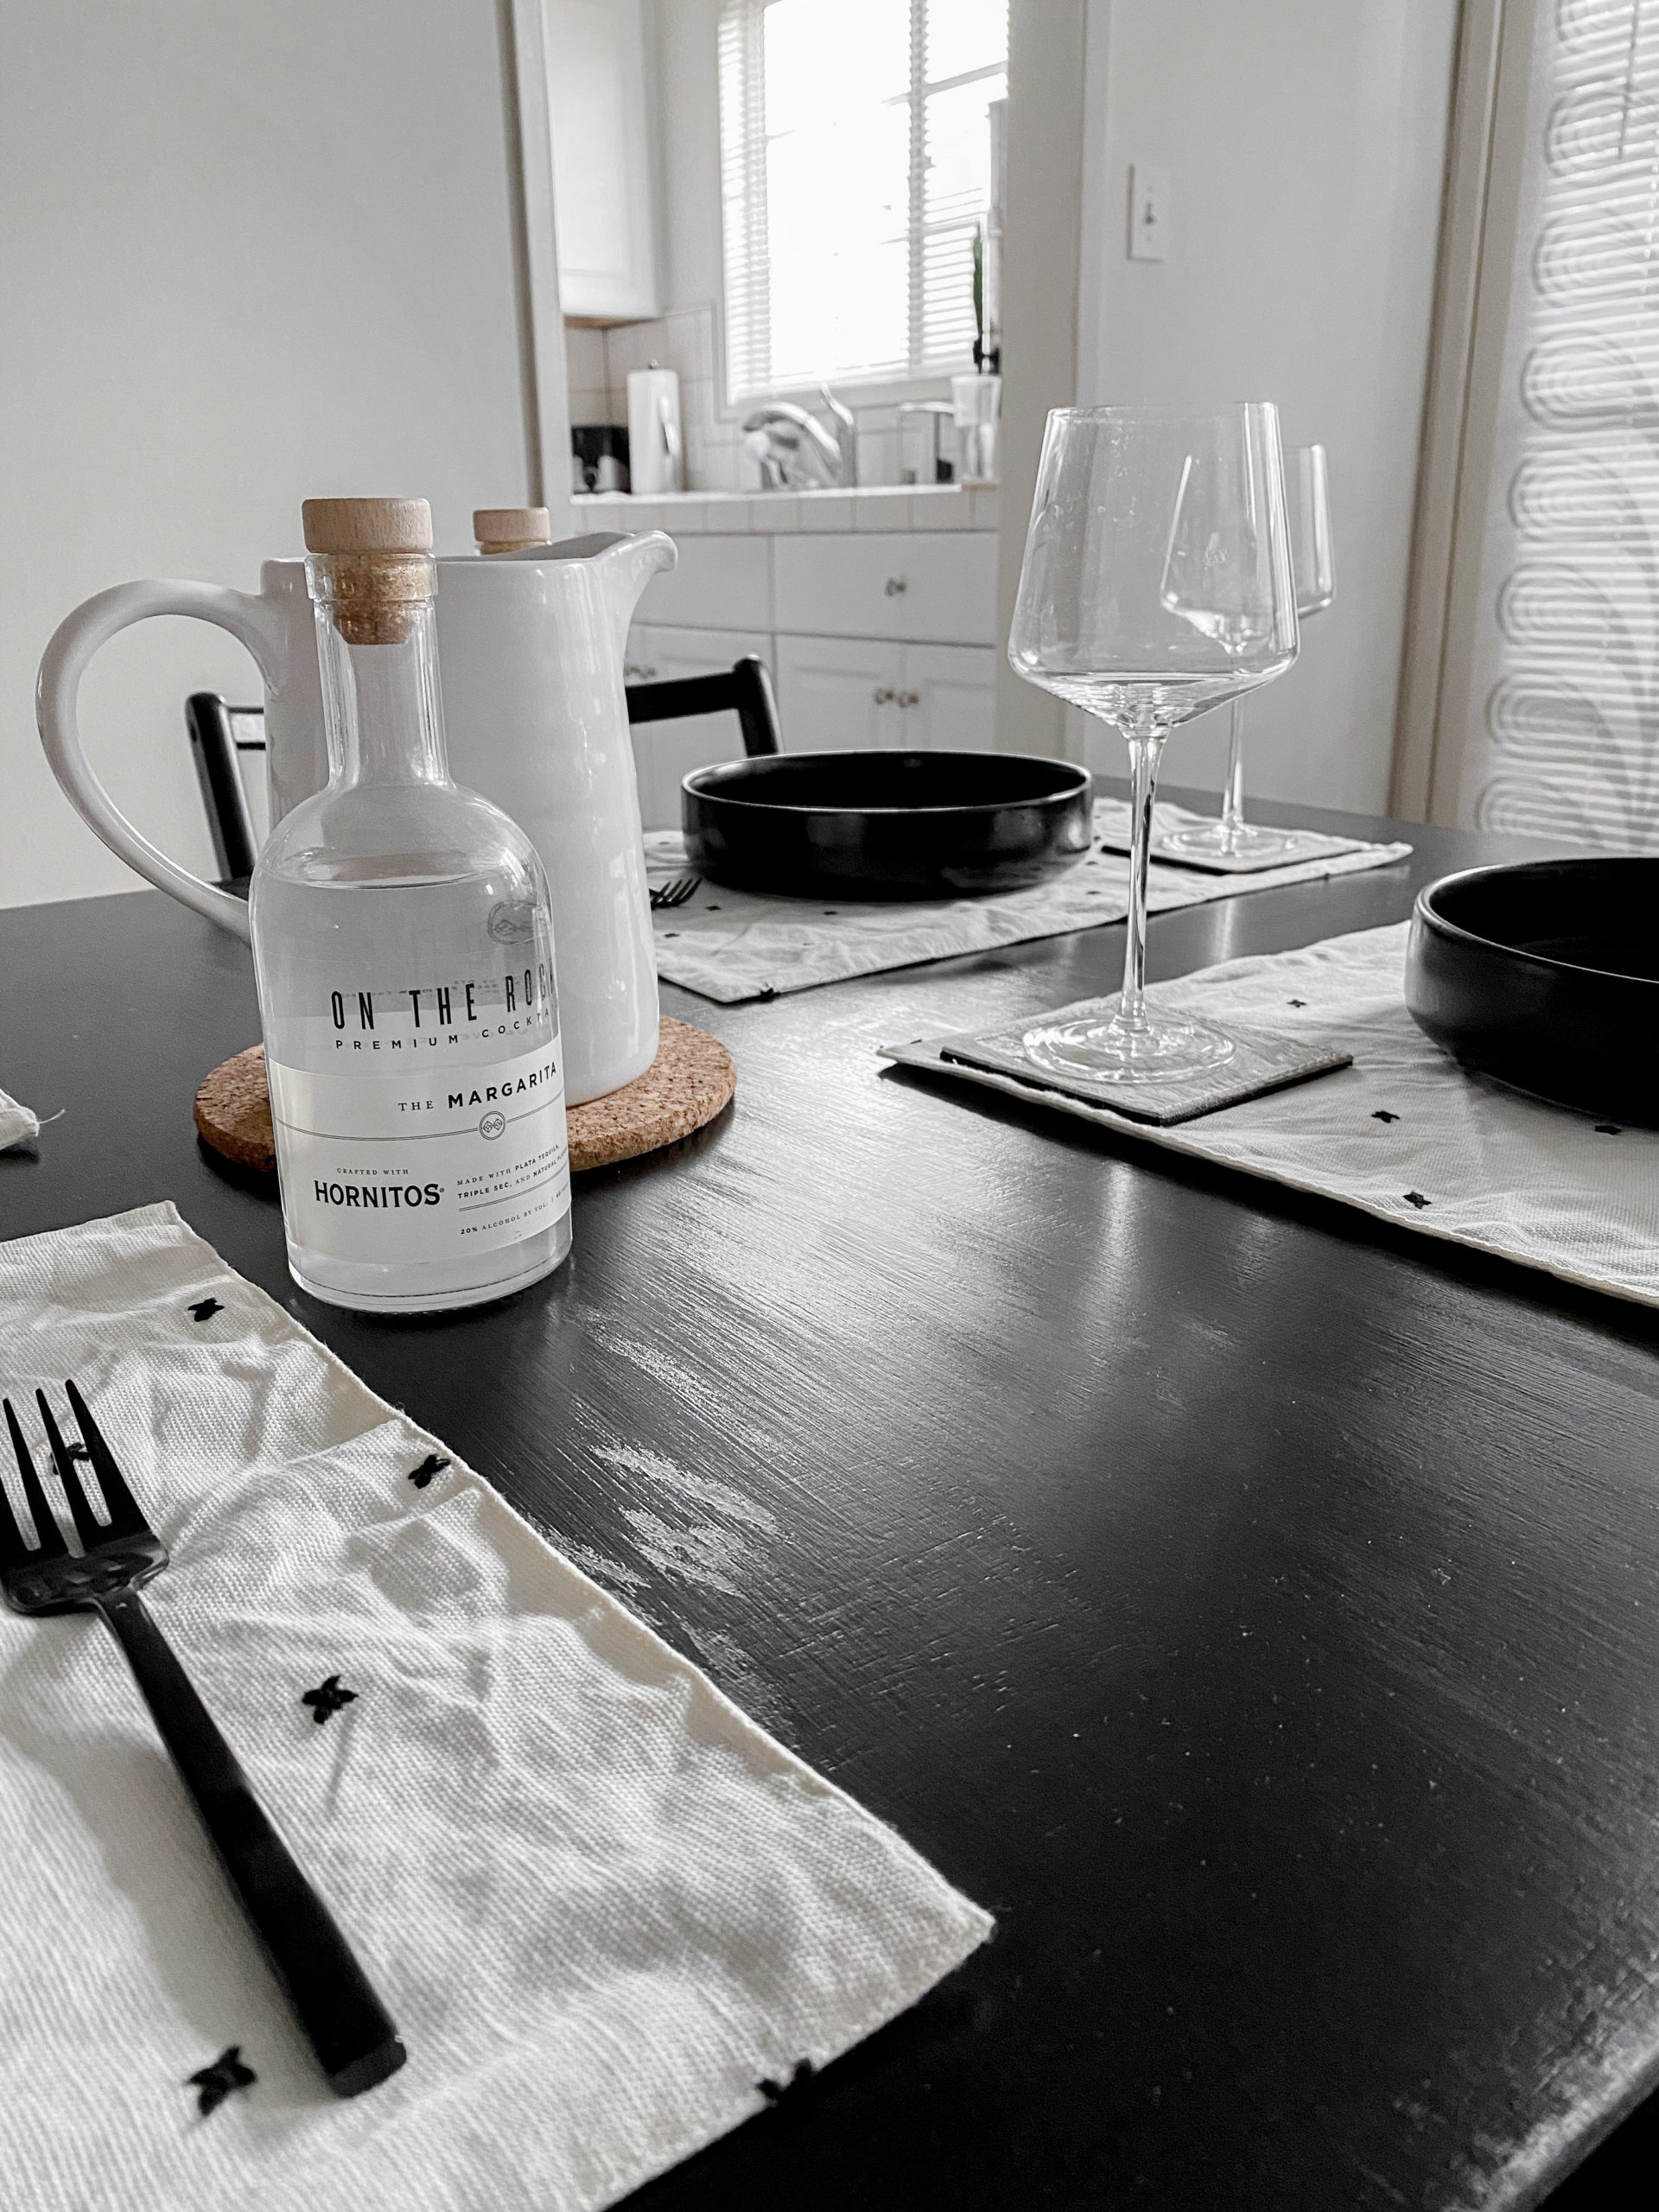
Voila! One day when we move and can paint our walls black, we will be doing so for that overall moody vibe. ⬛️ But for now, we love it.


Want to see the products we used? I have linked here everything used in this DIY project. Here for the table set up? I will link the products here as well. Let me know what you think of the transformation! All in all, this project took us 7 days and a lot of elbow grease. Professional restoration companies deserve all the praise. Next time, we are hiring them. 😅 Now that it’s done, this table will never be touched again. That’s how it works, right? 😉
Interested in seeing more? Visit my blog for more lifestyle tips. Also visit my resource page to see YouTube videos, my podcast, and more!
Until next time,
✌🏻 Laura

LEAVE A COMMENT
Comments